Once we had completed our
designs we then had to make a small sculpture of our character We first had a
short tutorial on how to effectively use the modelling material. We first
sculpted a small backpack and sleeping bag and then I attempted to do
a head.

Here is my attempt at a backpack and sleeping bag. I think I did pretty well for a first try I struggles slightly because of the really small scale but overall I was pretty happy with it.
 Here is the had I sculpted. I had a lot of trouble with the head as you can see it quite poor. I really struggled with adding detail to the face. As you can see its pretty plain and simple. But I think with some practice I'm sure I could improve.
 Here is the start of my sculpture. I first started off by making a simple wire frame to support the main body and legs.
 I then added some extra material and moulded it to the correct shape and the added some extra detail to the shoe using a scalpel.
 I then added a new layer for the trousers and shirt and once again added more detail using a scalpel like the zip on the top.
 Here is a close up of some extra detail I added to his trousers, and I also gave him a belt.
 I also gave my character a long coat which was very hard to do as the coat kept changing shape when I left it to harden so I had to keep checking on it to make sure it kept the right shape.
 I then made some basic arms for my character, using a wire frame and a layer of modelling material.
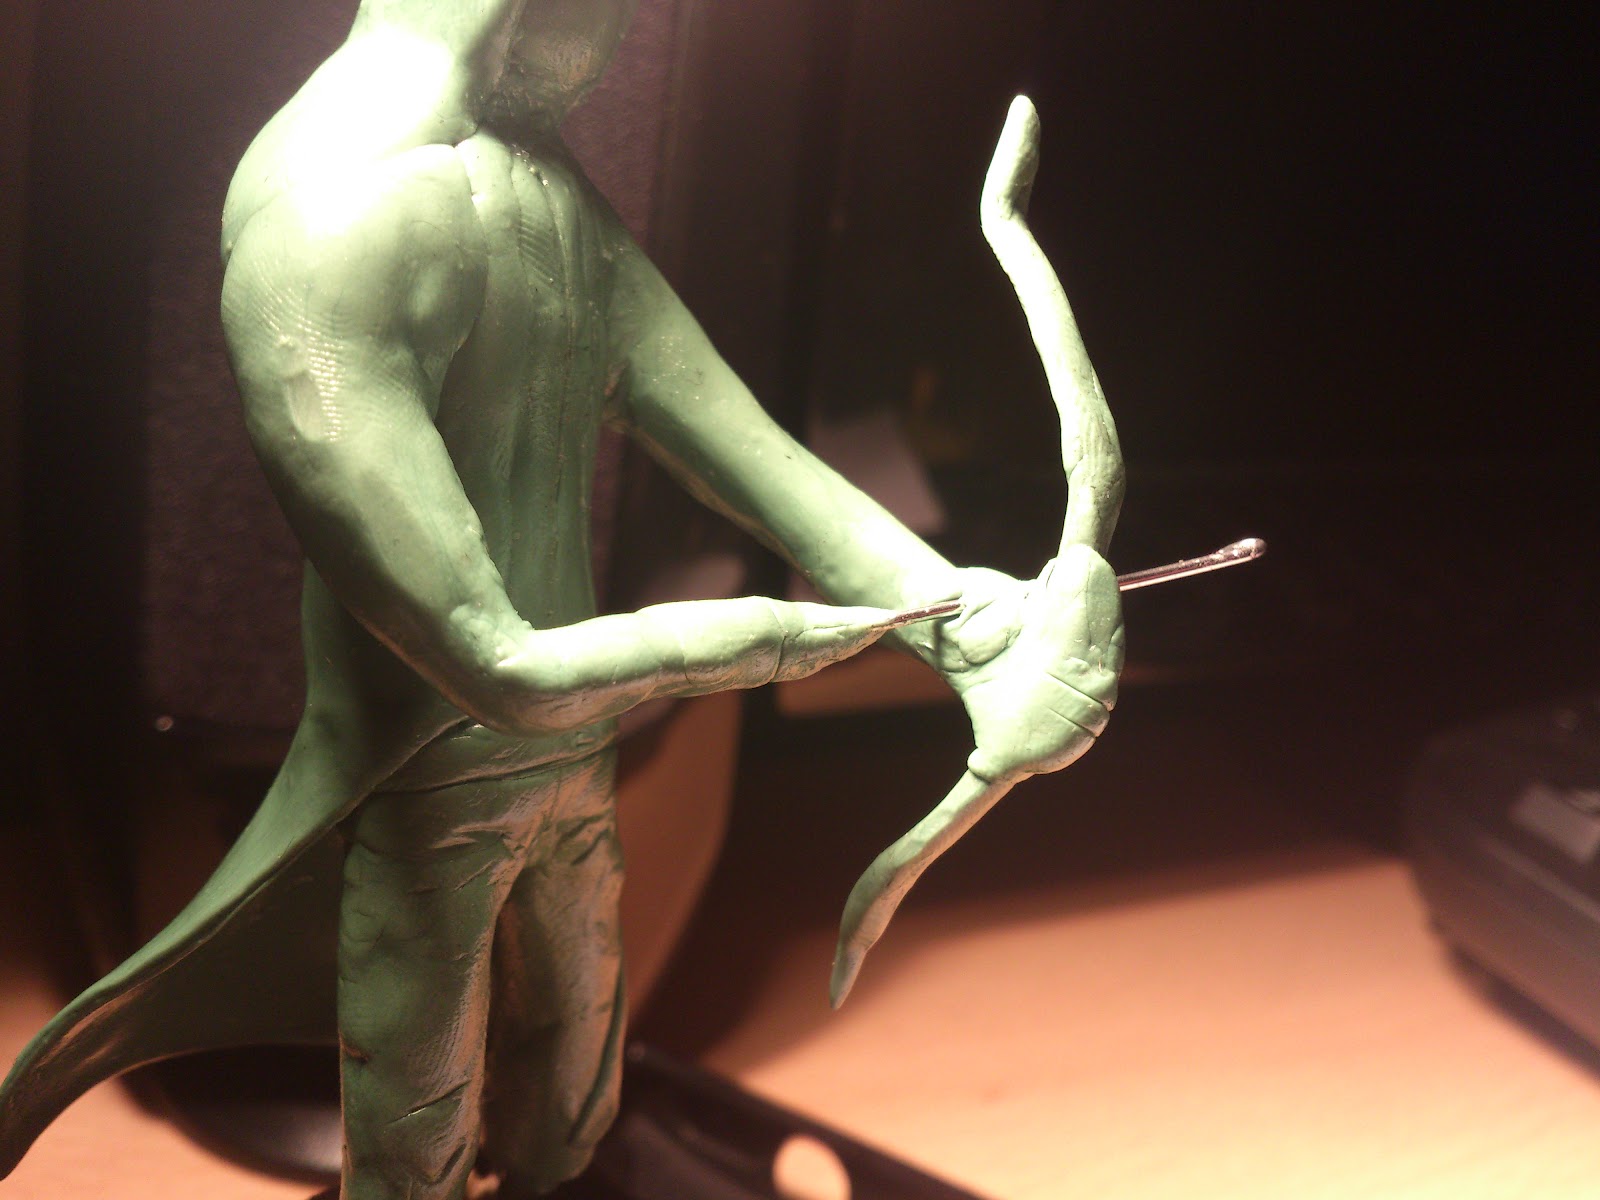
I tried to make it so you could see the different muscles in the arm but this was very fiddly once I had the basic shape I left it to harden.
 After doing the arms I the started making a head and because my character design had a mask I didn't have to make a mouth so added the mask straight on.

Once everything had dried I added the head and arms to my character I also added a hood and a bow to my character.

Here is my attempt at a backpack and sleeping bag. I think I did pretty well for a first try I struggles slightly because of the really small scale but overall I was pretty happy with it.

 Here is the start of my sculpture. I first started off by making a simple wire frame to support the main body and legs.


I tried to make it so you could see the different muscles in the arm but this was very fiddly once I had the basic shape I left it to harden.

Once everything had dried I added the head and arms to my character I also added a hood and a bow to my character.
No comments:
Post a Comment