In this post I will track the progression of my map through week 3-6.I apologies for the poor presentation and tracking of my map, unfortunately due to my computer crashing I lost most of the screenshots of my map so, but hopefully the ones I was able to salvage will still show the progression of my map from start to finish.
I first started of by crating a basic terrain using the terrain tool in UDK, by using this it enabled me to modify the lay of the land and vary the different height, to create a slight hill as you can see here.I the used the same tool to add a grass texture to the whole terrain to make it look like a grassy hill.
I then had to reposition the terrain because it was out of the play zone and charecters would instantly die when spawning.
I then set about creating the building in UDK I simple used the add geometry tool to add a solid shape and then used the subtract geometry tool to make the shape hollow.
I the started adding small features like door frames and stairs.
I found that because I had used a solid shape, when I was adding
and subtracting more geometry on top of or inside of other geometry, that multiple
problems would occur such as geometry overlap and subtracting geometry from the
wrong shape. To overcome this I decided to make each of the walls separately
this was good because it allowed me to easily modify the dimensions of the
building, this also made it a lot easier to implement windows and door ways into the building.
I then started adding in decal, such as windows these were
easy to implement as the models were already in UDK, and all I had to do was
insert time into the map and position them into the right place.
After creating the basic shape of the building I though I
would texture it, but because there isn’t a brick material in UDK I decided to
create one myself using a nice brick texture I found on the internet and a
normal map from another material already in UDK to give the material more depth
and texture. This screenshot shows you the material in the editor this shows u
the different images I used to create the material. Once I had finished this brick texture I started to apply it to the building.
I then started to texture the rest of the building such as the stairs, the supports and the roof.
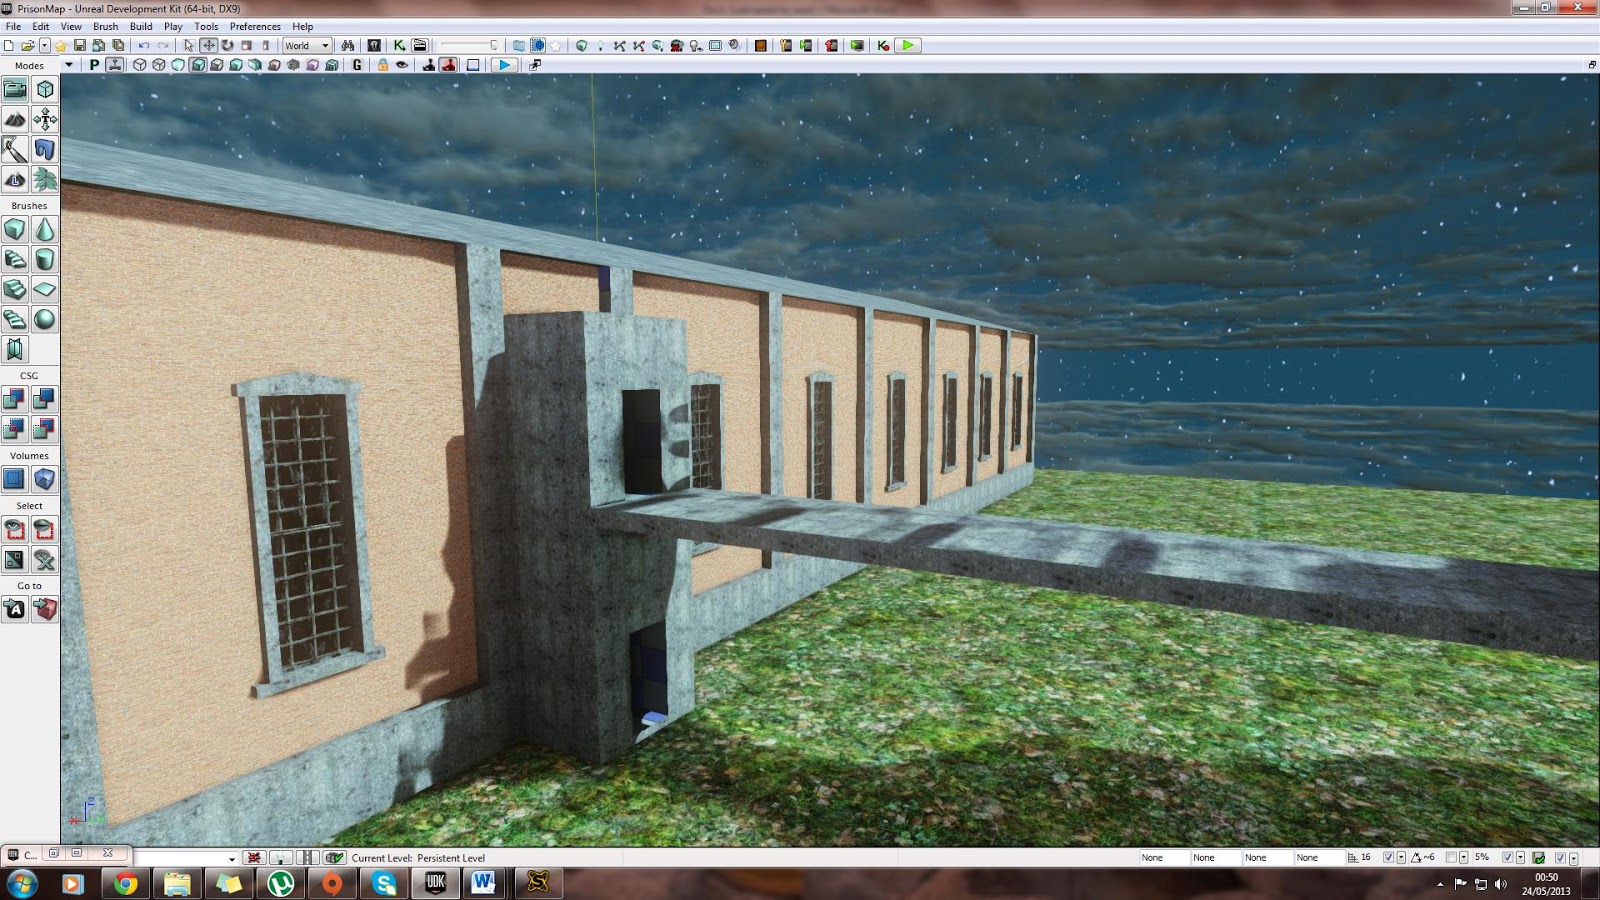
Here you can see the textures which i have applied to the outside of the building
After doing the textures I then started creating the windows for the side of
the building this was fairly easy to do and took me no time at all.
After I had textured the outside of the building I started to add decal to the map such as banisters stairs adn prison cell bars.
Here are screenshots of the interior with the decal.
One I had added the decal i then textured the inside of the building with a basic concrete texture from the content browser in UDK.
I then added a bridge which would link cell block C and B, i tried to keep close to the show so i made the bridge look like the one in the show.
To make it look more realistic I added in chain fences now the bridge looks exactly the same as the one in the show.


No comments:
Post a Comment